Soil sampling is an essential part of determining soil health. Soil analyses help growers and agronomists better understand what nutrients their soil has and what it needs to produce a healthy crop. Learn more below about how to take a soil sample and what you can learn from soil samples!
What is soil sampling?
Soil sampling is the process of taking samples of soil from a field, whether that be cores or slices of earth and submitting them to an accredited laboratory for analysis. Soil sampling is an important tool for both farmers and sales representatives, as the data from the test can determine what nutrients should or should not be applied.
How often should I soil sample?
Soil samples should be taken at least once every three years, and records of each analysis should be kept for reference. Samples should also be taken if there are any plant problems during the growing season.
When should I take soil samples?
Fall is the best time to take soil samples, though soil samples are often submitted throughout the growing season if there is an issue in a crop. Some growers take soil samples in the spring, but the ground is often wetter in this season due to melting snow, so the process is messier and may affect the end result. Sampling in the fall allows time for growers and sales representative to analyze the results and apply any needed nutrients to the soil; there needs to be enough time for these nutrients to react with and change the soil pH prior to the planting of a next crop.
How long do soil samples take to be processed?
Depending on how busy the accredited laboratory is, soil sample analyses on average take 5 to 7 business days.
Why do I need a soil sample?
After a long growing season, you will often see more nutrient deficiencies in your soil; in that case, nutrients need to be added back into the soil to maintain soil health. A soil analysis will tell the farmer and their sales representative what nutrients the soil needs to be able to produce strong, healthy plants in the next growing season.
A farmer may also take a soil sample to diagnose a crop problem. Nutrient deficiencies in the soil can lead to weakened plants or the growth of diseases and disorders, so soil samples are used to help diagnose these issues.
Additionally, soil sampling can also be used to identify nematodes, which are microscopic worms that live in soil moisture and feed on the root systems of plants. Ideally, one sample should be taken for nematodes for every 5 acres.
What does a soil sample tell me?
The soil analyses that are returned from the labs are full of information about the nutrients and elements that are present in your soil. Based on the information received, growers and sales representatives will be able to identify what nutrients their soil requires in order to remain healthy and fertile.
Some of the information received from a soil test may include:
| Soil pH | Phosphorus: The Bicarbonate P | Copper | Soluble Salts |
| Buffer pH | Potassium | Iron | Organic Matter and ENR |
| Phosphorus: P1 | Magnesium and Calcium | Manganese | Nitrate |
| Phosphorus: P2 | Sulphur | Zinc | Cation Exchange Capacity (CEC) |
| Phosphorus: The Melich I | Boron | Sodium | Cation Saturation |
How do I soil sample accurately?
There are a few tools you can use to take soil samples; you can use a soil probe, a soil auger, or a spade/shovel. All tools should be stainless steel or chrome plated. The pail to collect the samples should be plastic, as trace metals can contaminate the sample.
Under most conditions, any of these tools can be used; when the ground is frozen or heavily compacted a soil auger is useful.
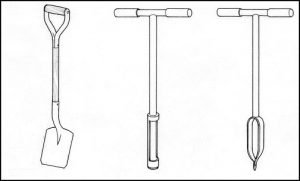
Figure 1: (From left to right) a shovel, a soil probe and a soil auger.
Image Source: Pleysier, J.L., Soil Sampling Tools and Sample Preparation.
When sampling, any plant residue should be scraped away. The first six inches should be taken, as this is the soil most affected by fertilizers. When sampling with a shovel or spade, dig a V-shaped hole to the sample depth and then cut a thin slice of soil from one side of the hole.

Figure 2: Soil sampling with a shovel using the V-shaped hole method.
Image Source: Southern Land Exchange, Soil Testing 101: What, Why, How, Where and When.
For an accurate analysis, the lab needs 1 to 1.5 cups of soil. In that case, 10 to 20 samples should be taken from throughout the field and mixed well in a plastic bucket before being packaged into a soil sample bag. Regular soil samples can be kept at room temperature; nematode samples should be stored in a fridge or cooler so that they remain cool and damp.
Soil Sampling and 4R Nutrient Stewardship
Soil sampling is an important step for growers; soil tests are the basis for any nutrient management plan. 4R Nutrient Stewardship works to ensure that our crops are receiving the optimal amount of nutrients without wasting product.
Basing fertilizer application on specific soil needs ensures that we are using the right source, at the right rate, at the right time, in the right place to minimize field nutrient loss and maximize crop uptake. You can learn more about the relationship between soil sampling and 4R Nutrient Management here.
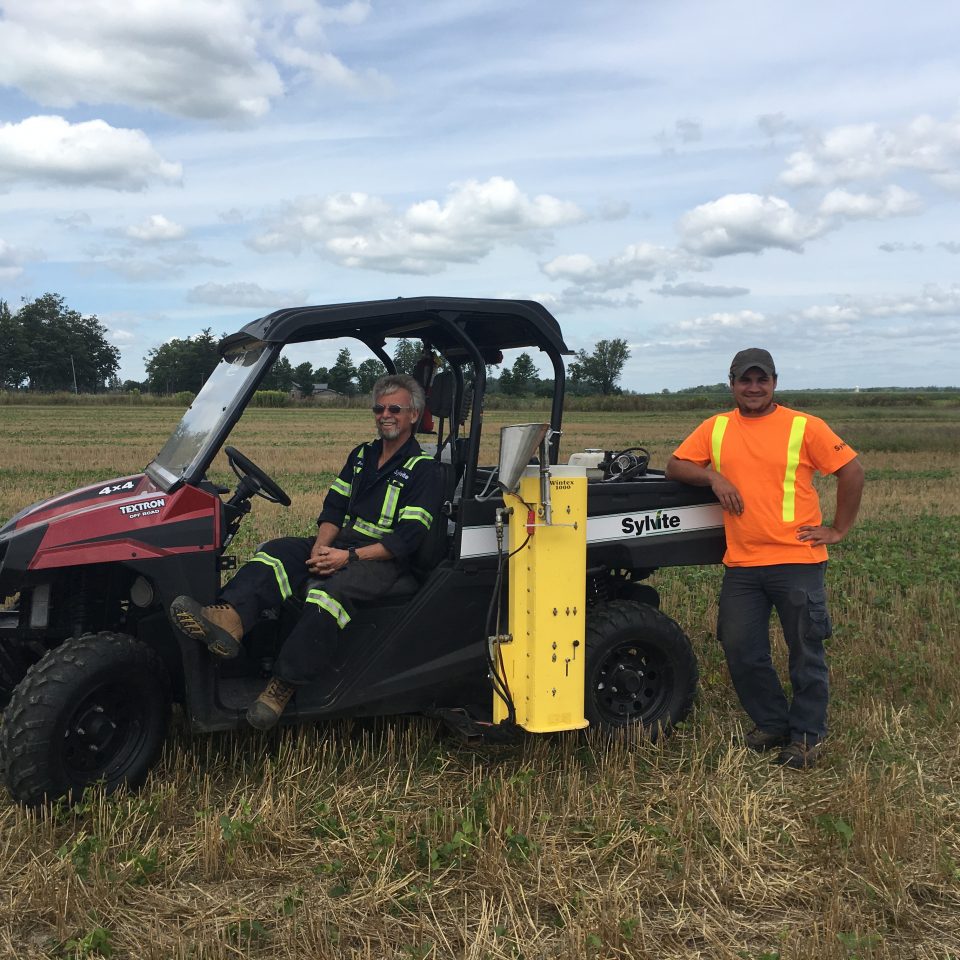
Soil Sample with Sylvite!
Why take the time to sample your fields manually when we could do it for you? Sylvite Agri-Services uses a UTV along with a Wintex 1000 to make our soil sampling processes as efficient and accurate as possible. Whether you’re in need of basic bulk sampling, site specific sampling or zone sampling for fertility, we’ve got you covered!
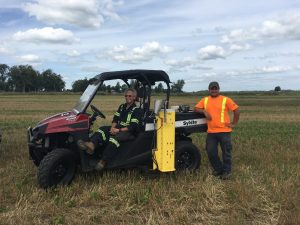
Image 3: Sylvite’s 2019 soil sampling crew, Burt and Ricky.
So are you ready to step up your nutrient management efforts and be prepared for nutrient management regulations? Sylvite Agri-Services is happy to provide our soil sampling services to you! All of our soil sampling services can be tailored to your budget, needs and agronomic goals. If you’re interested in having your fields sampled this fall, please contact us or talk to your Sales Representative or Ag Consultant.